

 Visit our Showroom
Take me to
Why Is Cable Management Harder on a Standing Desk?
A standing desk travels its full range multiple times daily. Without deliberate routing, cables pull taut at standing height (straining port connections) or sag and pool on the floor at sitting height (creating trip hazards and getting caught in chair wheels). A fixed desk's cables stay static; a standing desk's cables are in motion every time you adjust.
A 2024 Cornell University study found organised workspaces improve focus by 18% - an environmental psychology finding that applies to cable organisation as much as surface clutter. As we covered in our ergonomic accessories guide, cognitive load from visual clutter (including cables) competes for mental resources throughout the workday.
What Are the Three Cable Zones on a Standing Desk?
Standing desk cable management divides into three functional zones: the static zone (under the desktop where power strip and dock live - these don't move with the desk's vertical travel), the travel zone (the service loop that must move freely as the desk rises), and the wall zone (the single mains cable to the outlet, routed so it never rubs a sharp edge or crosses a walking lane).
This three-zone framework is the most practical mental model for standing desk cable planning. Each zone has different requirements:
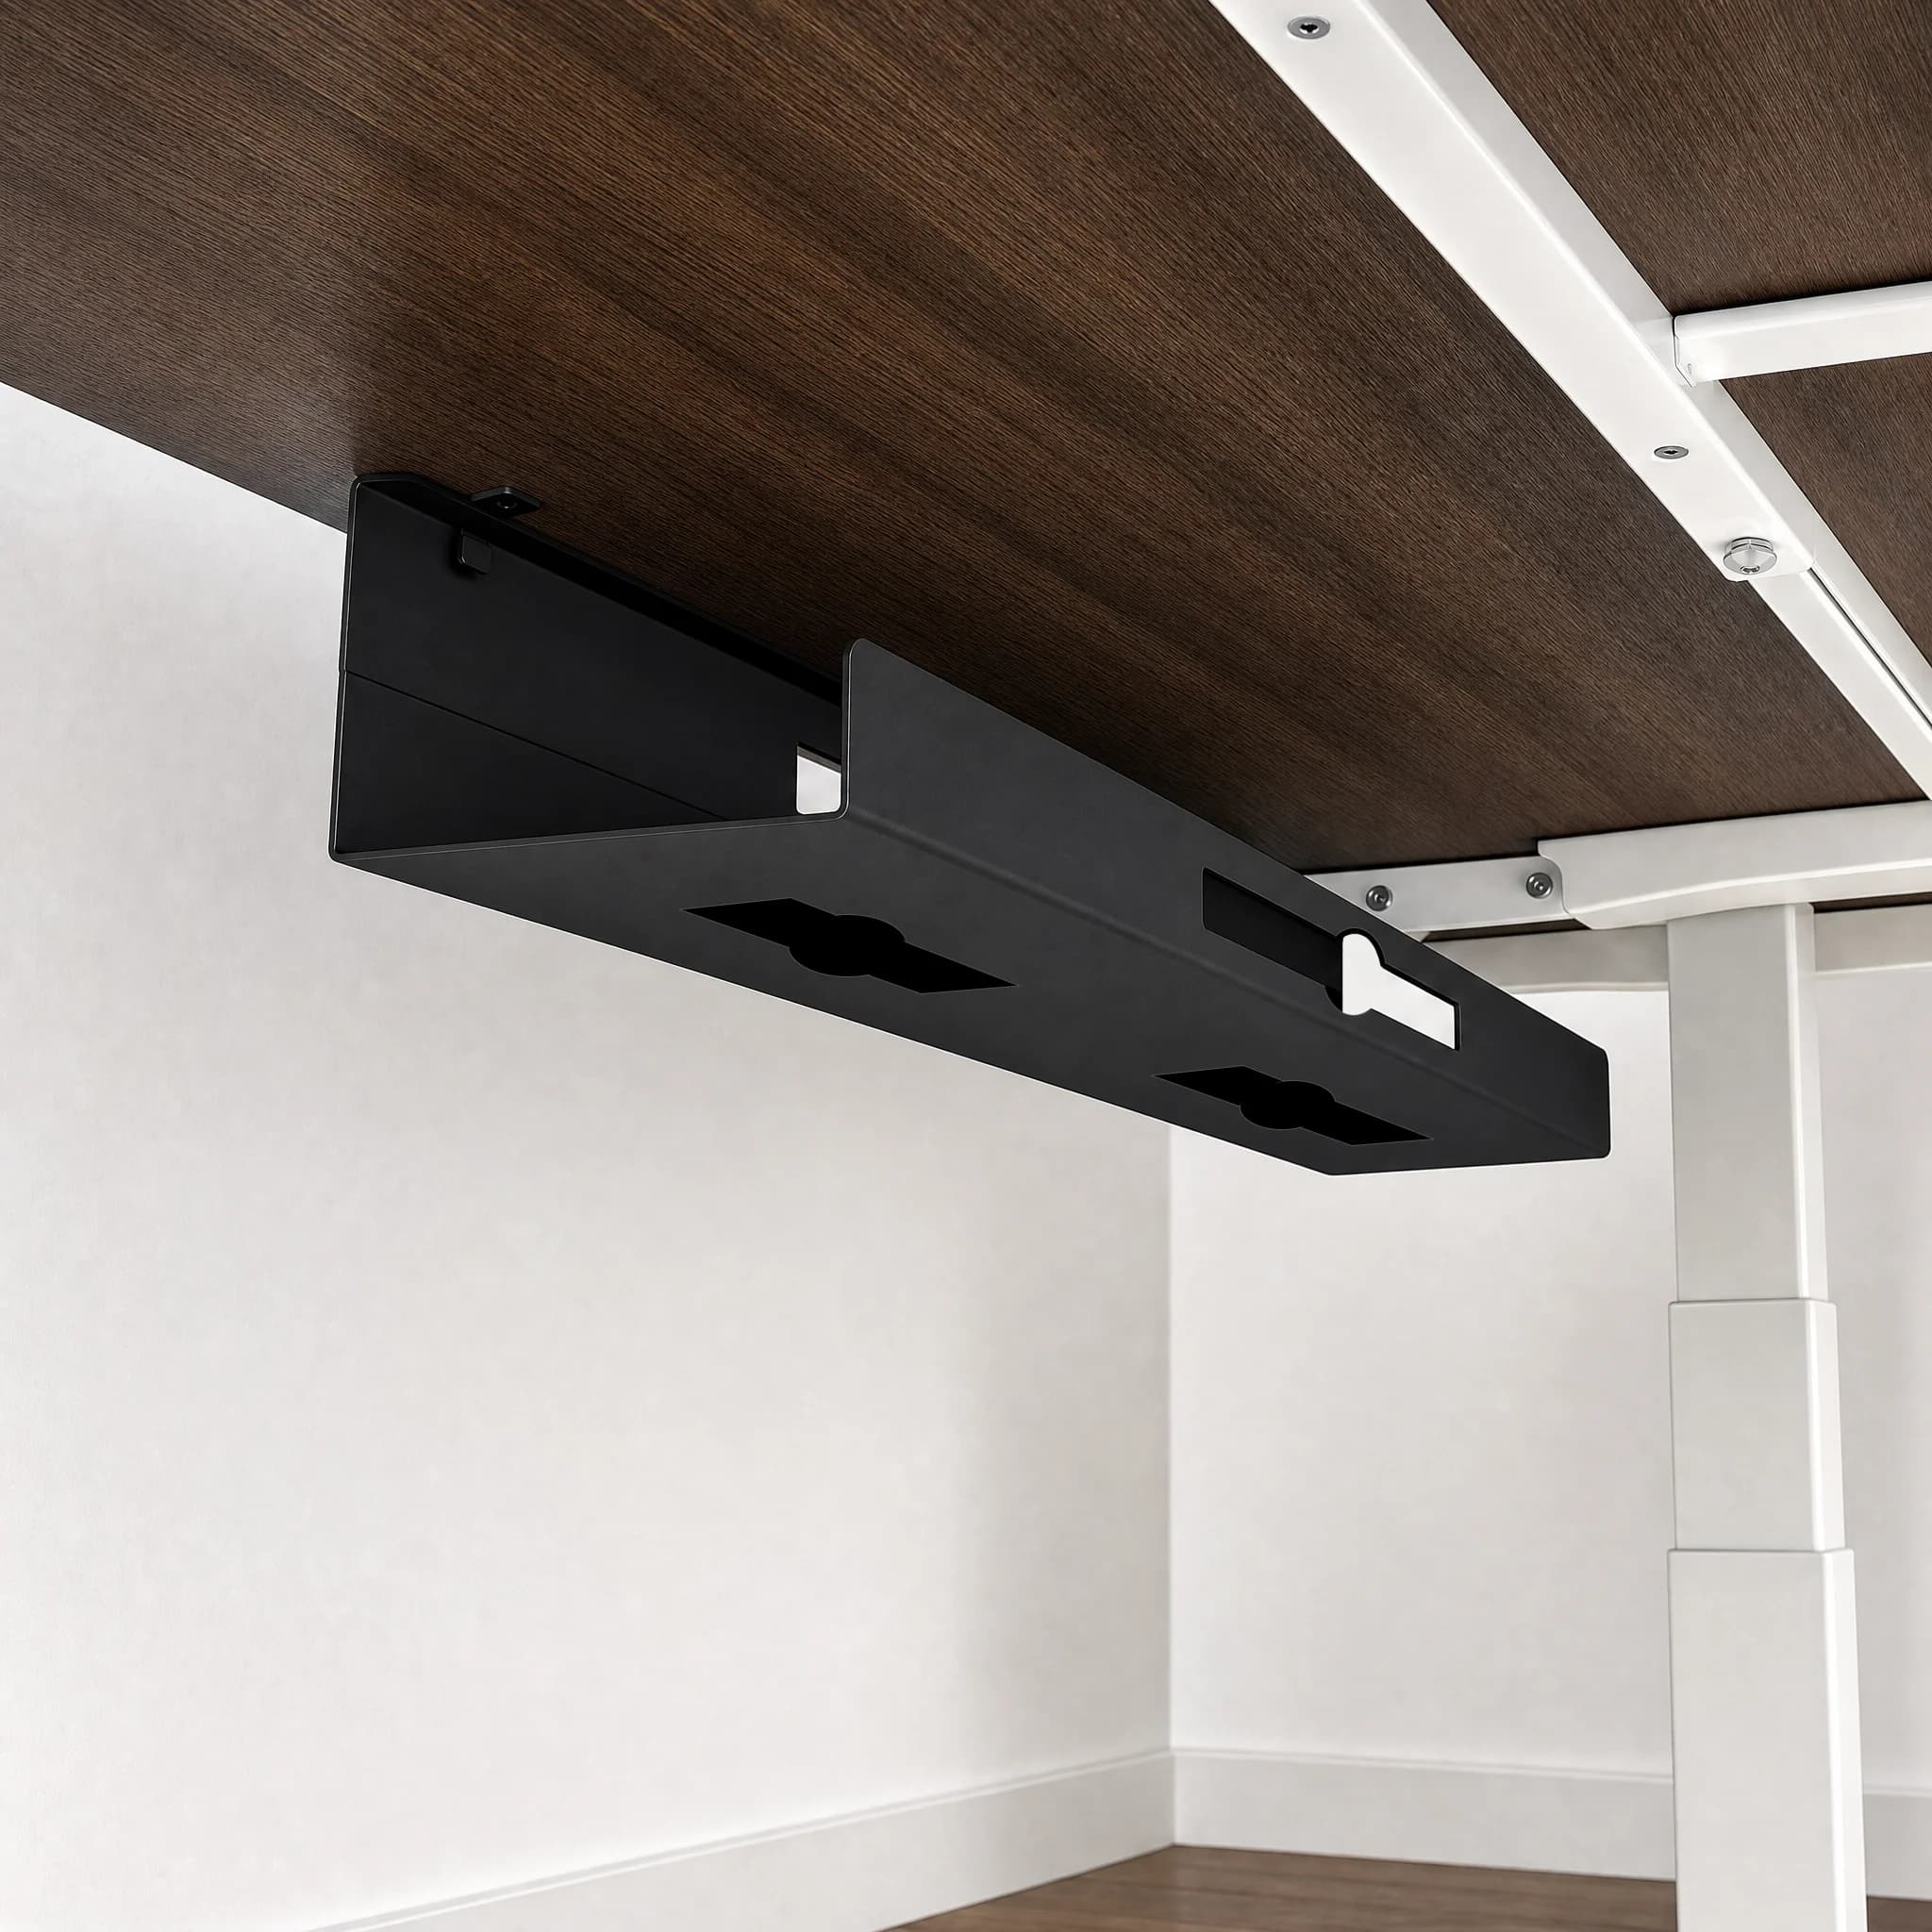
Static zone: Mount the power strip and any docks under the desktop near the rear. Heavy adapters go here. From this zone, one or two cables run to the wall. Everything else stays above in the tray.
Travel zone: The cables that must accommodate the desk's vertical travel. These need a deliberate service loop - a U-shaped slack loop at the desk base, just long enough to reach full standing height plus a small buffer. Test at both height presets before securing.
Wall zone: One exit point from the desk system to the wall outlet. Multiple drops look messy and invite snags. Route this single cable behind a desk leg or along the wall, keeping it out of the rolling zone where chair wheels travel.
What Tools Do You Need for Standing Desk Cable Management?
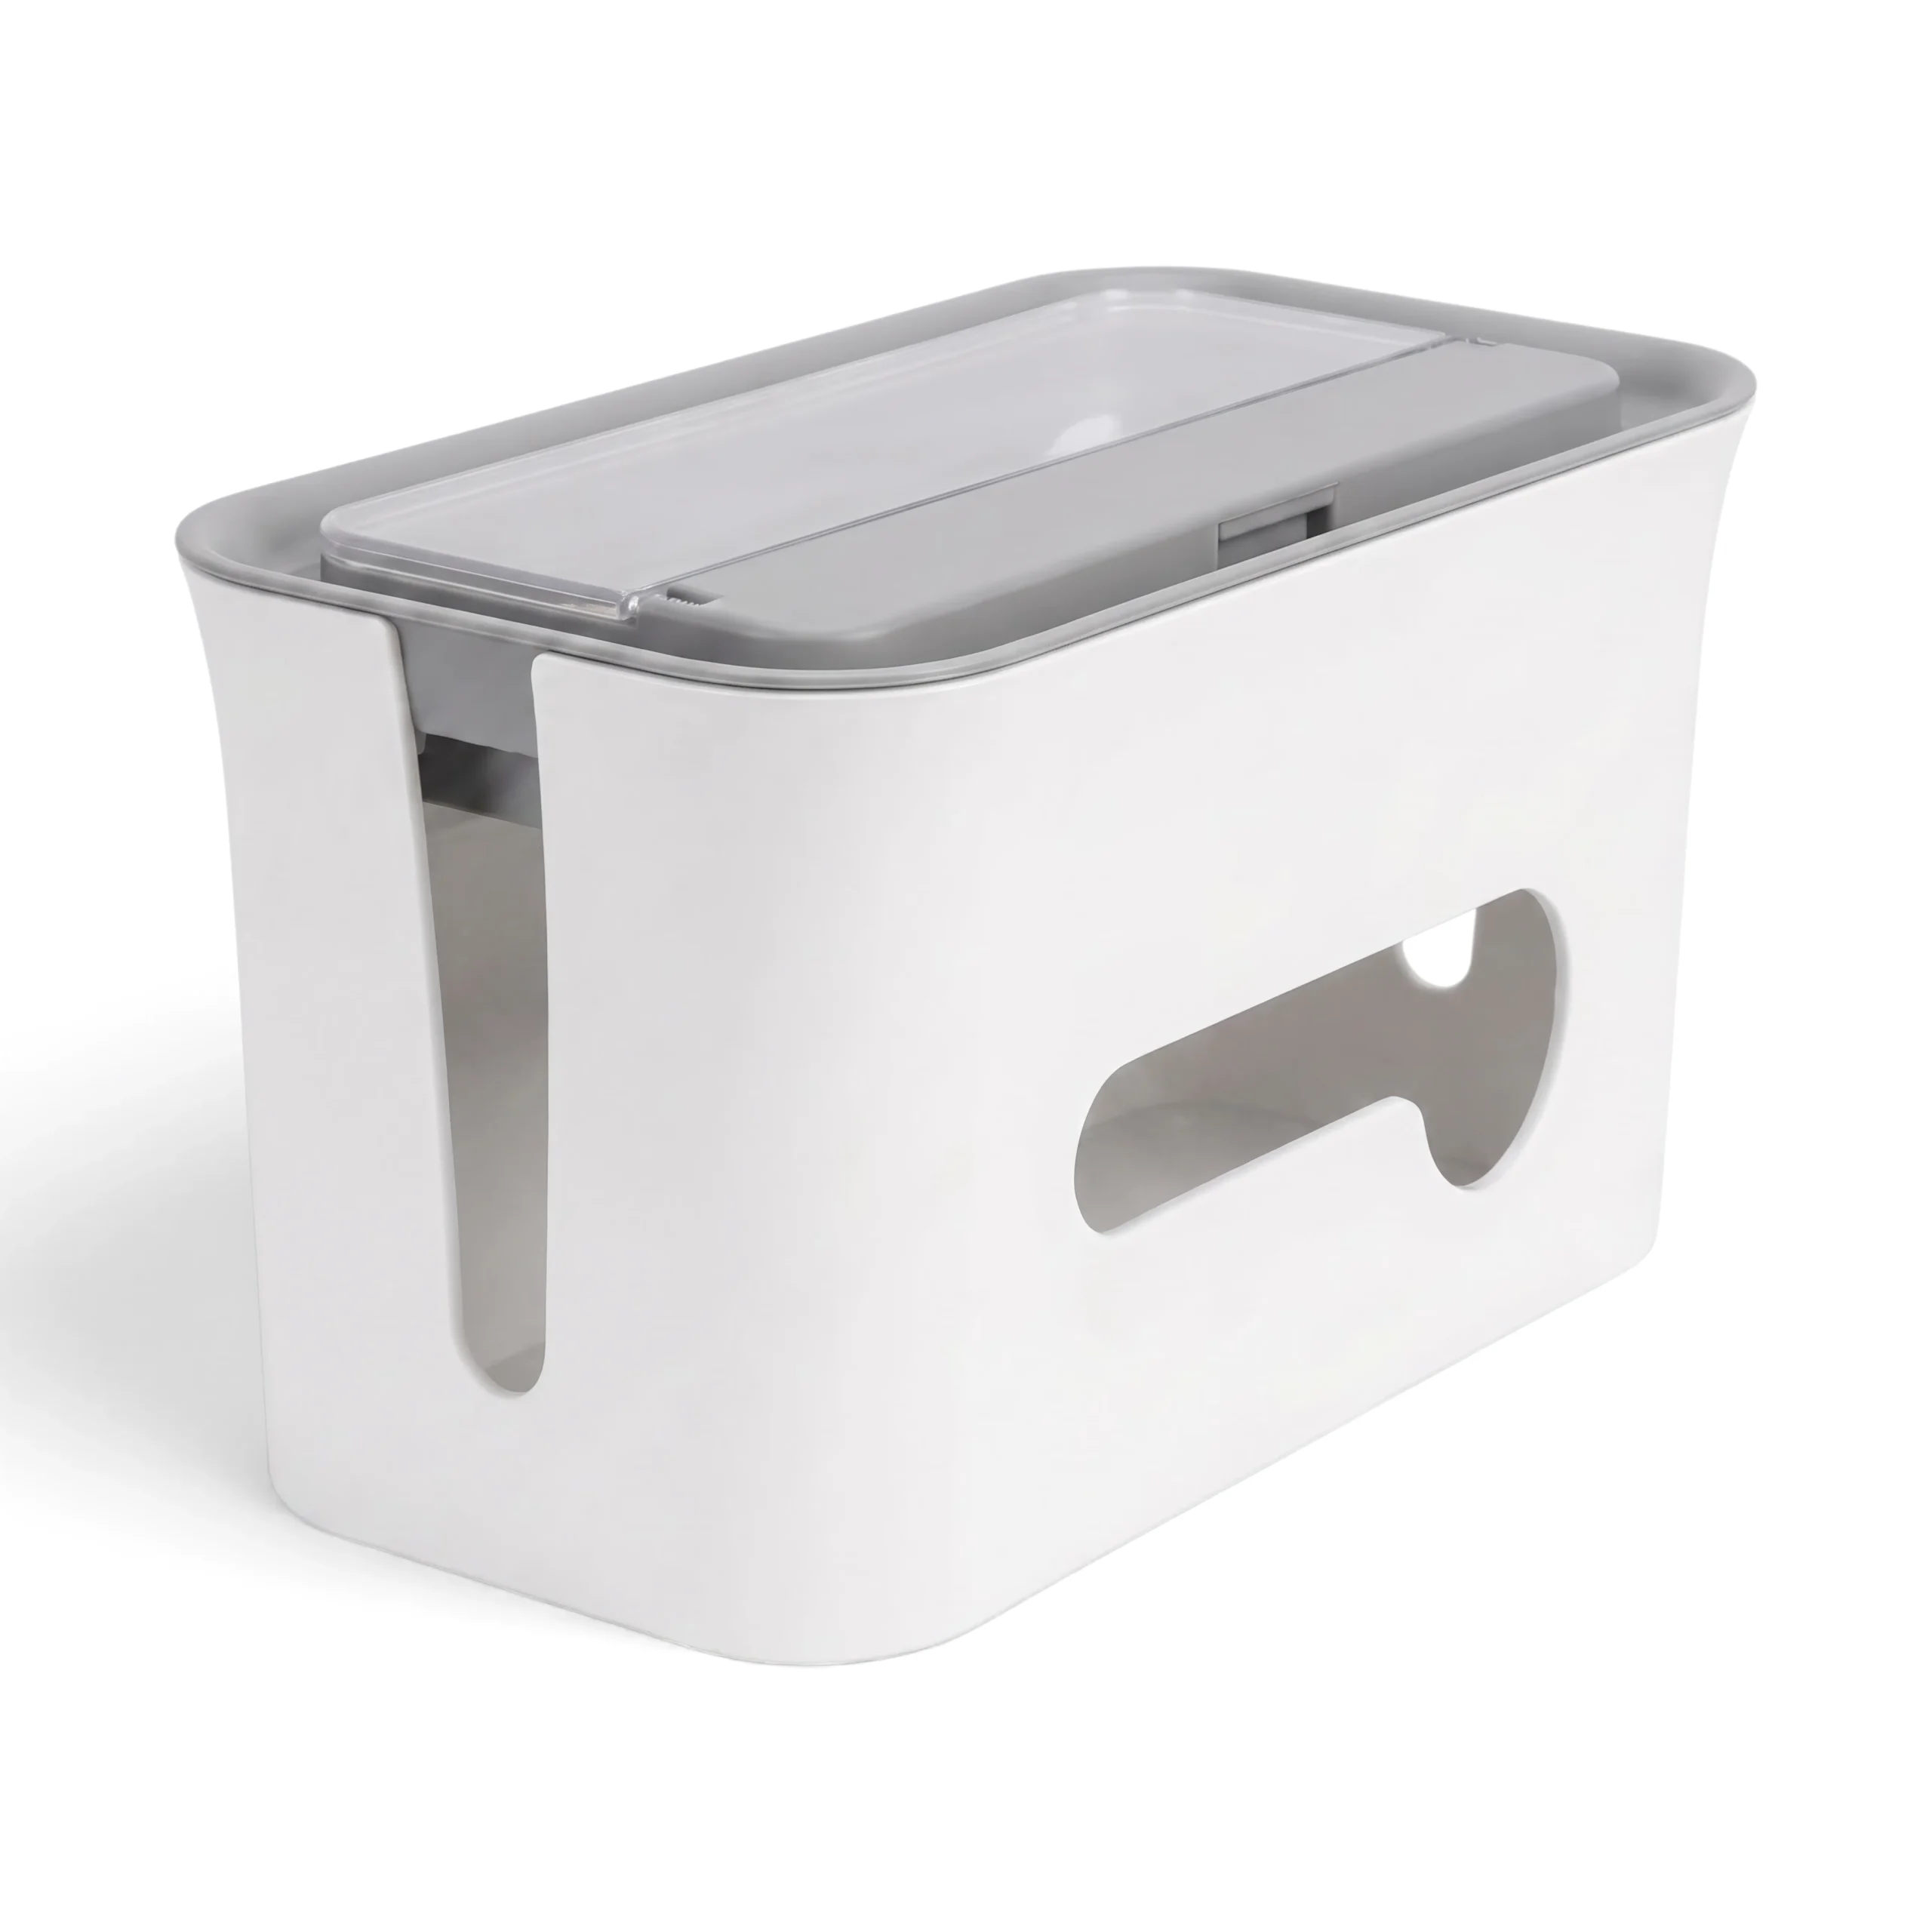
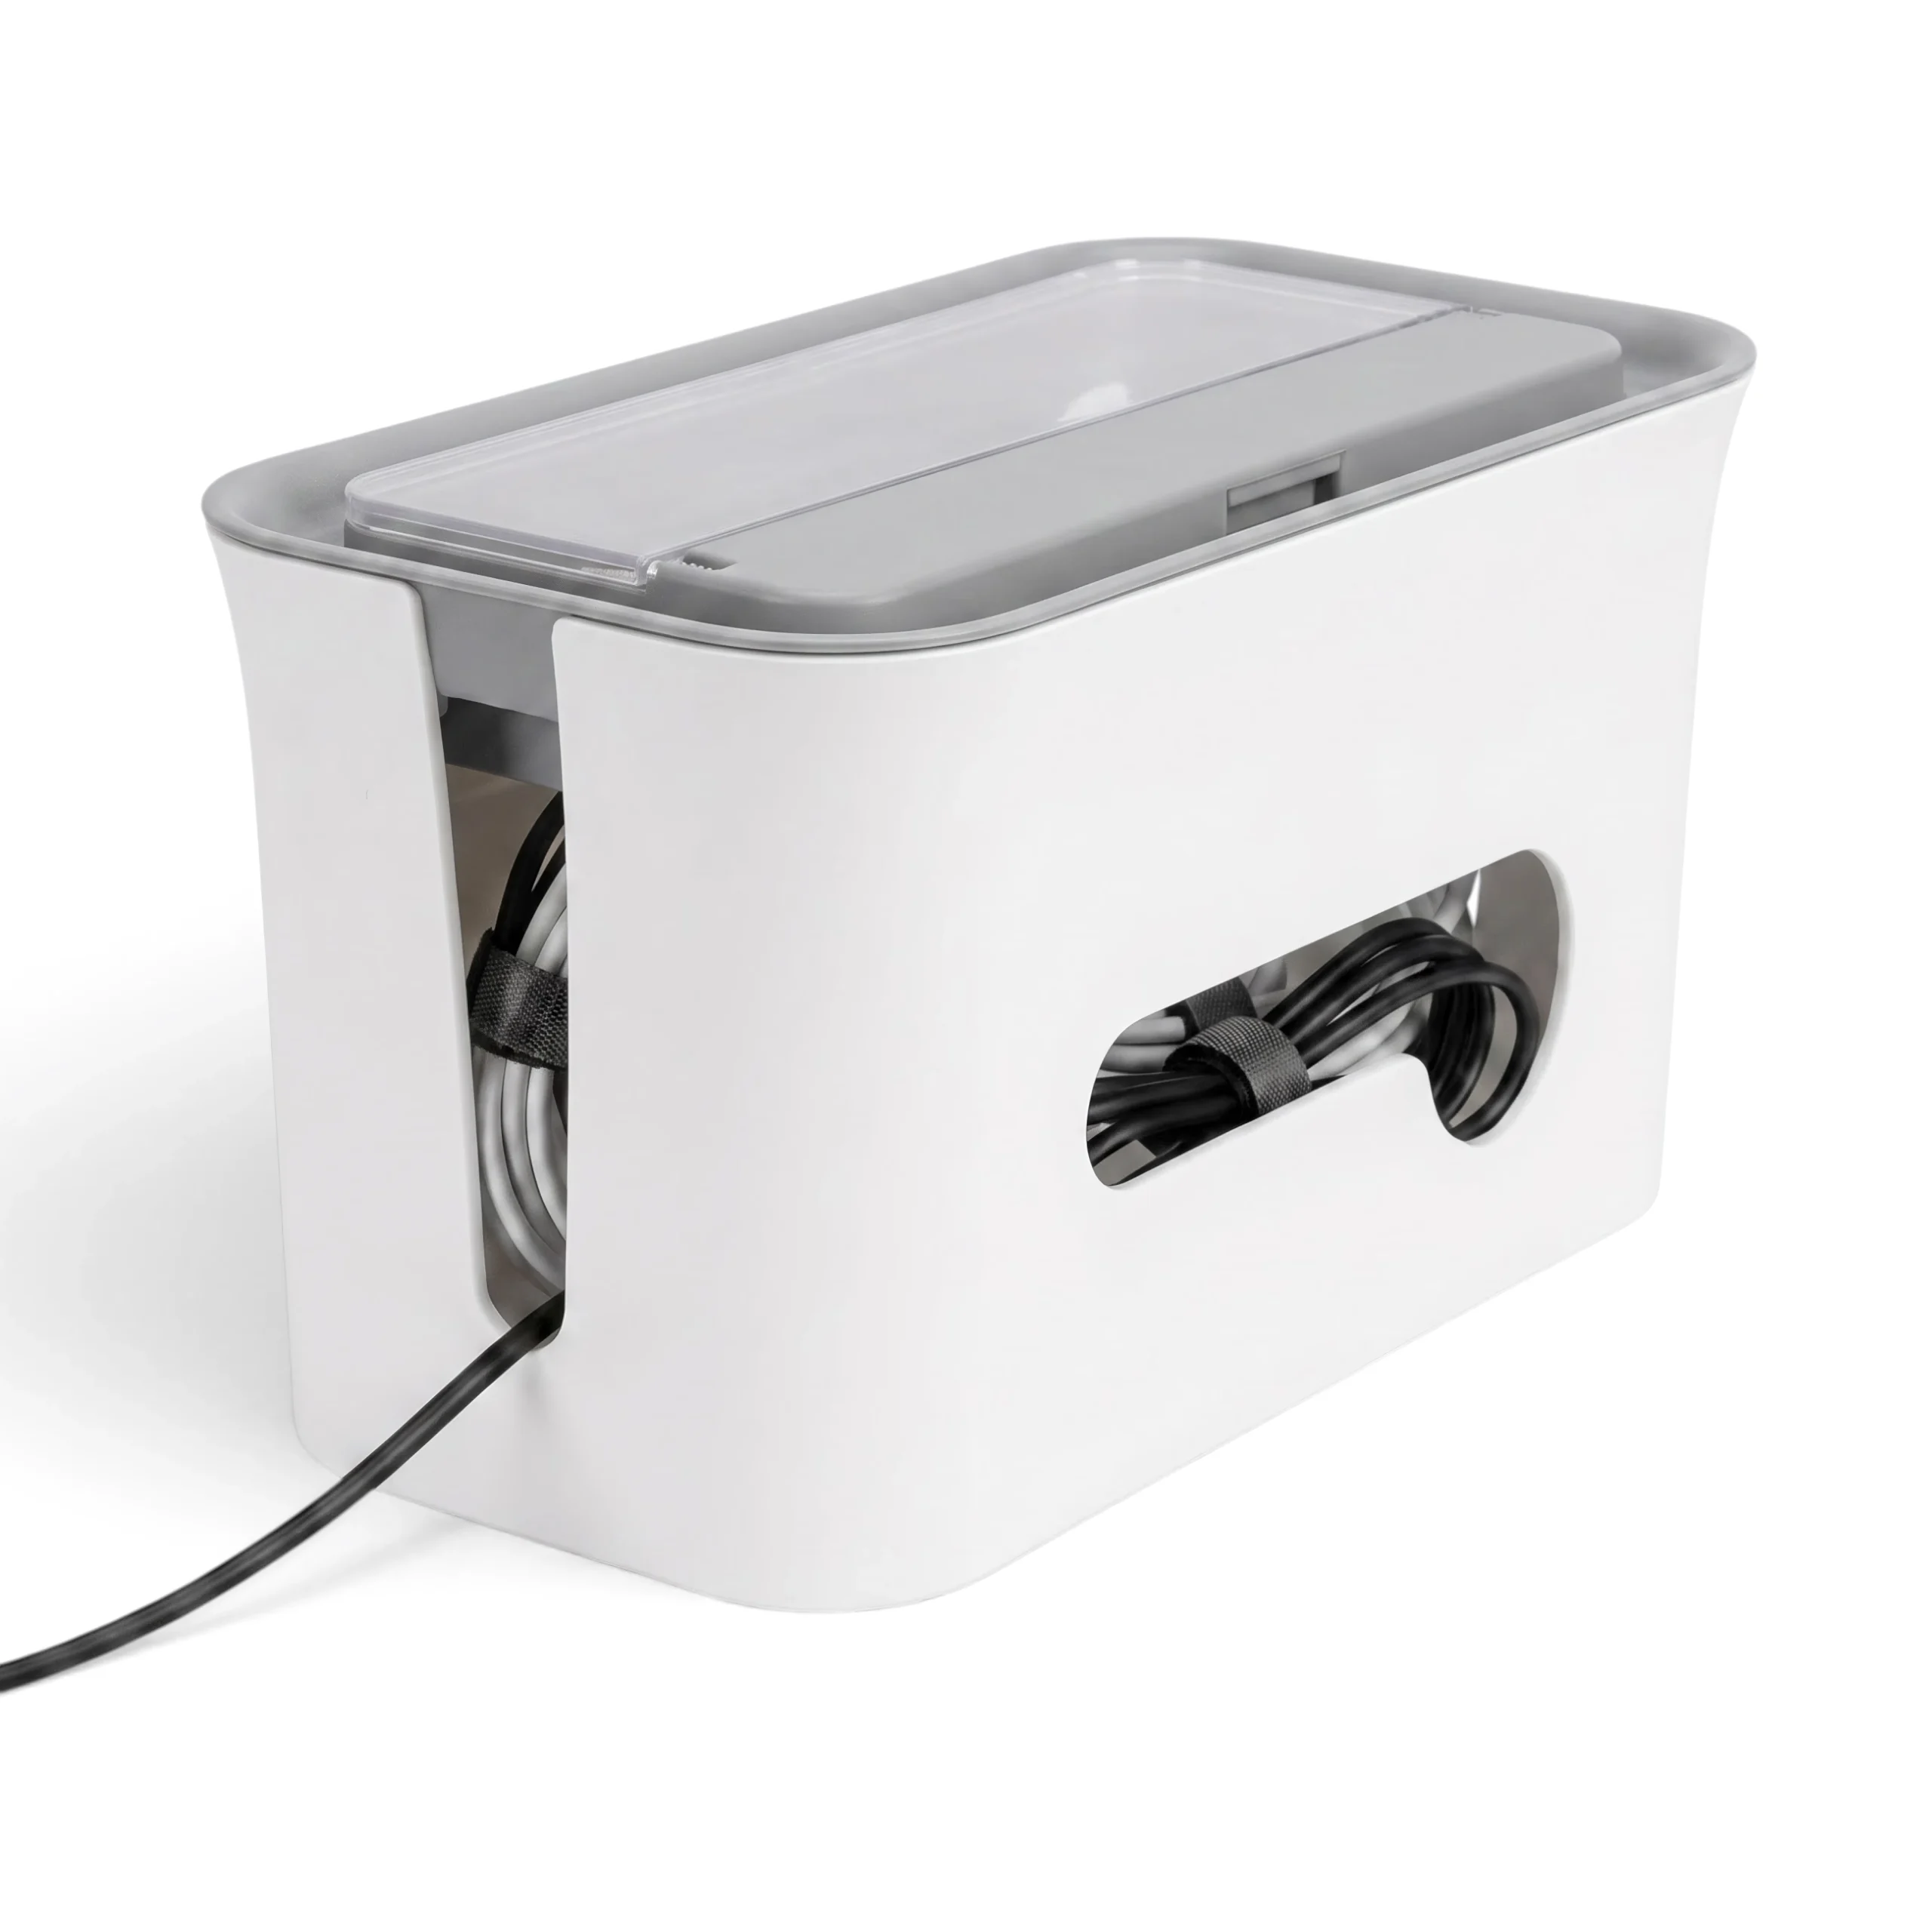
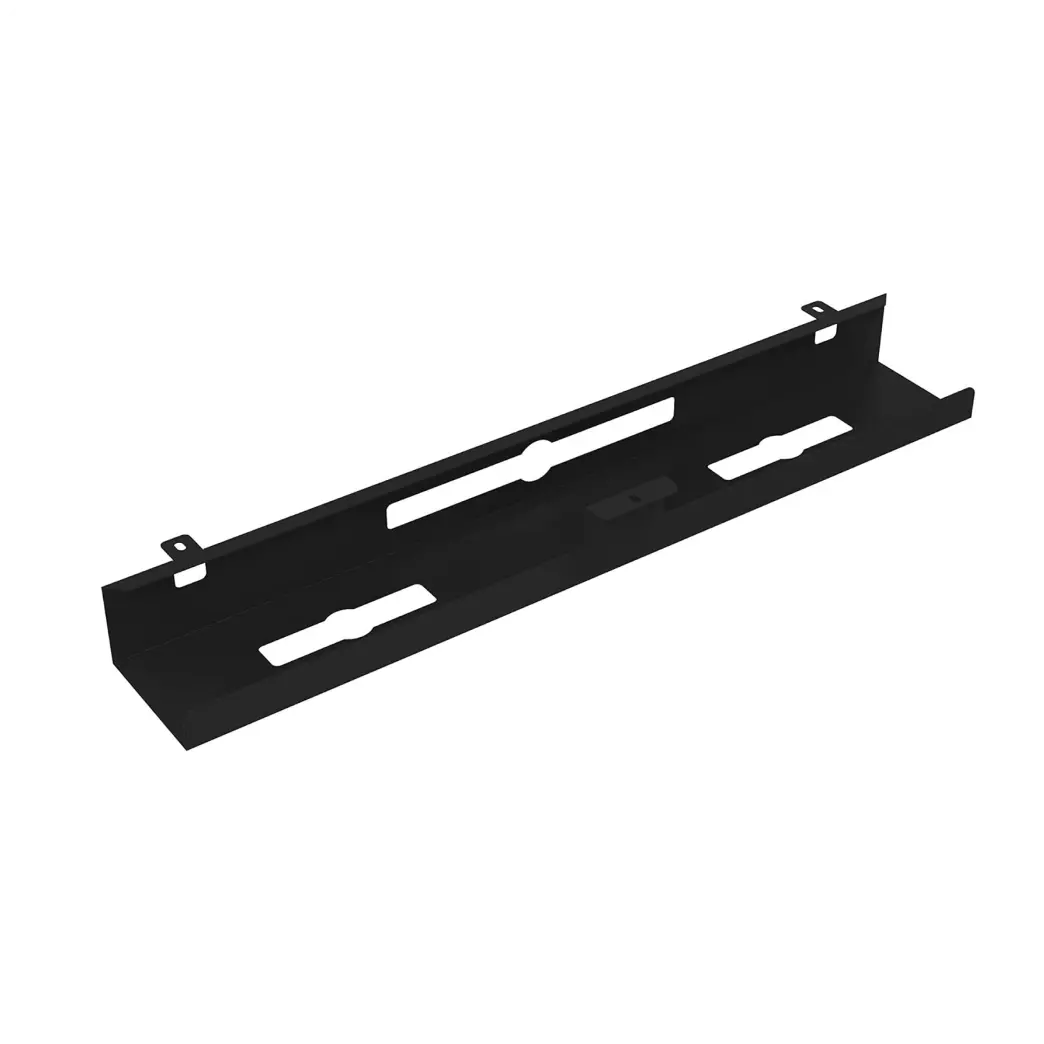
The five essential cable management tools for a standing desk: under-desk cable tray (contains power strip and bundled cables), cable sleeve or raceway (bundles the vertical drop to the wall into one tidy run), cable clips and adhesive mounts (secures individual cables along the desk frame and legs), Velcro straps (bundles and adjusts related cable groups), and cable grommets (creates clean entry/exit points through desktop surfaces).
According to Autonomous's comprehensive standing desk cable guide, under-desk trays are the backbone of most sit-stand desk setups - creating a designated space for power strips, adapters, and bundled cables that keeps cords off the floor.
Quick win from BTOD's cable management analysis: Start with power centralisation. Mount a surge protector or power strip under the desk today. This single change eliminates multiple wall outlet runs and instantly improves the cable situation - even before any other cable management is added.
Navo's cable management range includes under-desk cable trays, cable raceways, and organisational systems designed for the dynamic routing requirements of standing desks.
What Is a Service Loop and Why Is It Critical?
A service loop is a deliberate U-shaped slack loop in the cables at the desk base, providing the slack needed for the desk to reach full standing height without pulling cables taut. Without a service loop, cables strain against their port connections at maximum height - the most common cause of cable and port damage on standing desks.
The Uplift Desk cable management guide specifies: build in appropriate slack for cables that need to accommodate desk movement. Test at both your sitting and standing height presets. Cables should move smoothly without binding, pulling, or interfering with the desk mechanism.
Service loop sizing: Aim for enough slack to reach full standing height plus 5–8cm buffer. Test by raising the desk to its maximum preset. If any cable pulls tight or shows tension, the loop is too short. If cables touch the floor or brush your knees, the loop is too long - shortening it with Velcro bundling.
Where to create the loop: At the desk base, slightly behind the rear leg on the side with the most cables. Secure the loop loosely with a Velcro strap so it can flex during travel but won't swing wildly.
What Is the Correct Routing Order for Standing Desk Cables?
What Is the Correct Routing Order for Standing Desk Cables?
Route cables in this priority sequence:
(1) plan the layout first - raise and lower the desk watching how cords need to move before securing anything,
(2) mount the cable tray and install grommets,
(3) fix the power strip in the tray,
(4) route device cables to the power strip and dock,
(5) create service loops for all dynamic cables,
(6) run the single wall cable with sleeve,
(7) test the full height range before final securing.
Choose a single exit point for cables leaving the desk system. Multiple drops look messy and invite snags. One drop is also easier to protect with a floor channel or tight wall-side routing.
Routing order for monitor cables: Route along the monitor arm's channel (most arms have cable management built in), then drop into the sleeve near the clamp. Leave a small slack loop just above the arm's shoulder so tilt and swivel movements feel frictionless. If running dual monitors, label each cable at both ends - future changes will take minutes, not an afternoon.
Standing desk-specific note: Don't drill additional holes in motorised desk legs to feed cables - this risks damaging the lifting mechanism housing. Use the existing desk frame surfaces and clips instead.
What Are the Most Common Standing Desk Cable Mistakes?
Five cable management mistakes specific to standing desks:
1. No service loop - desk pulls cables taut at full height, straining ports. Most common cause of monitor port failure on standing desks.
2. Power strip cable too short - reaches the wall at sitting height but not at standing height. The power strip cable must be long enough to reach the wall outlet at maximum desk height, not minimum.
3. Cables across the rolling lane - floor cables crossing the path chair wheels travel get caught, pulled, and eventually damaged. Route the wall drop behind a leg, not across open floor.
4. Routing all cables as one bundle - monitor cables, power cables, and USB cables bundled together create cable interference and make device changes time-consuming. Group by type: power together, display together, USB together.
5. Not testing before securing - secure cables permanently before testing the full height range, and you'll find problems after everything is mounted. Test first, secure after.
How Does Wireless Equipment Simplify Standing Desk Cable Management?
Switching to wireless peripherals eliminates multiple cable runs from the desk surface: a Bluetooth keyboard, wireless mouse, and wireless audio device removes 3–5 cables from the dynamic zone while maintaining full functionality. Each wireless device eliminated is one less cable to manage through the travel zone.
This doesn't eliminate the need for cable management - monitors, power, and most professional audio setups still require cables - but it reduces complexity meaningfully. For Navodesk AIR users, the integrated USB charging reduces the cable needed for device charging at the desk, contributing to a simpler overall cable system.
For the complete Navodesk cable management solution - under-desk trays, raceways, clips, and bundling tools - see Navo's cable management range.
Frequently Asked Questions
- Add 15-20cm beyond the desk's full height range for smooth movement.
- In a cable tray beneath the desk, positioned toward the back.
- Separate bundles per monitor, or use monitor arms with integrated cable management.
- Yes, our solutions work with any standing desk model with adjustable mounting.
Need Help Building Your Ergonomic Setup?
We'll guide you to the perfect chair, desk setup, and comfort tips for a productive workday.
Shop Office FurnitureManage Your Table Like a Pro
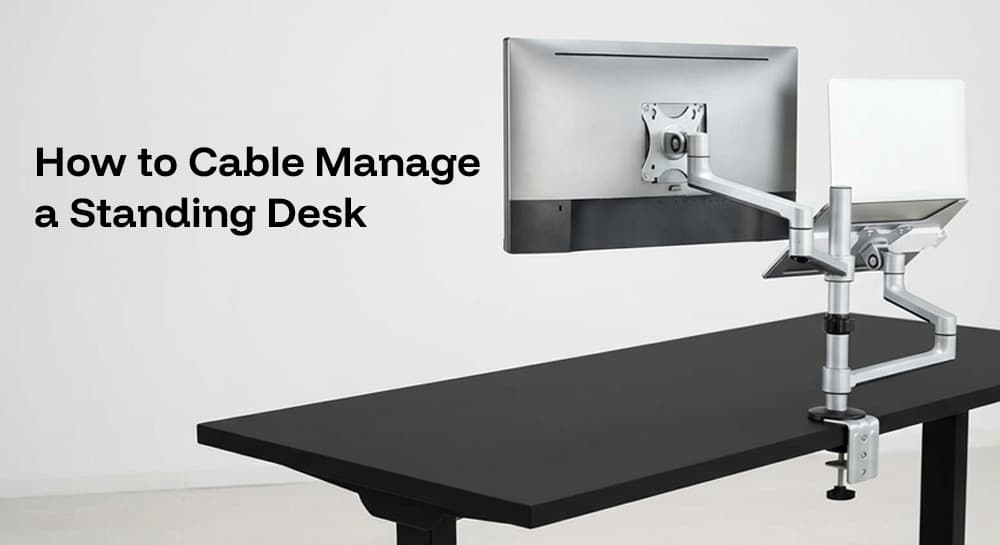
Master cable management and keep your standing desk workspace clean
 49
49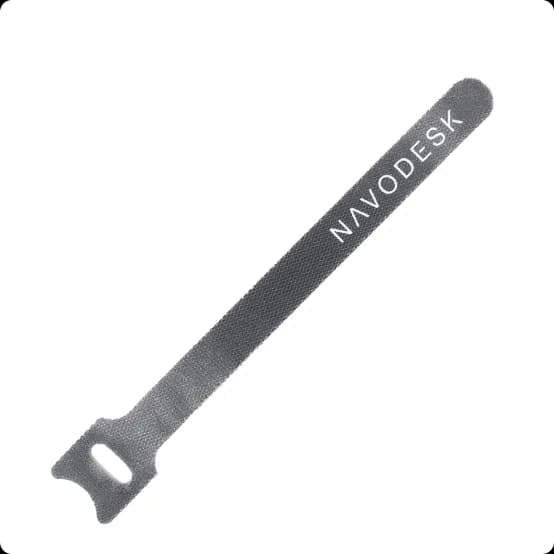
Popular Blogs
View all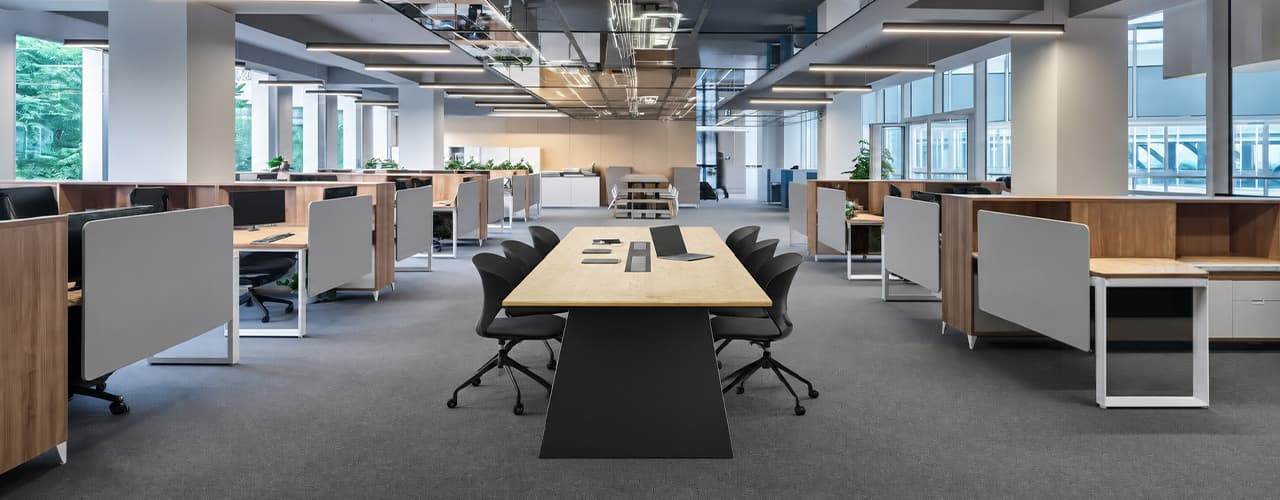
Open Plan vs Cubicle vs Hybrid Office Layout: Which Is Right for You?
The open-plan office was supposed to fix everything the cubicle farm got wrong. It didn't. It created a different set of problems and left people nostalgic for the one thing cubicles did well: quiet. The hybrid layout is positioned as the solution that addresses the shortcomings of both. It might be only if it fits how a specific team works. It shouldn't be a mix of two philosophies that didn’t help the team before. This guide shows what each layout offers and where it falls short. It also helps you choose the best option-or combination-for your office in Dubai or the GCC.
Key Findings
*Global office use is now at 53%, up from 38% in 2024. Also, 69% of teams have over 40% of their staff sharing desks. This shows that 2019 workspace designs don’t fit current needs.
*A Harvard study found that open-plan spaces often lower face-to-face interaction. Instead, they boost digital communication. This is the opposite of what these designs aim for.
*A hybrid model conversion at a 120-person SaaS company restored engineering deployment speed to baseline. It also reduced voluntary turnover in technical roles by 18% over nine months.
*Steelcase research shows that companies improving their work environment boost productivity by 17%.
*In 2026, the most innovative UAE offices aren’t just picking open plans or cubicles. They’re creating “activity neighborhoods.” These are clusters of spaces designed for different work styles.
*No layout is universally right. The best choice depends on your team's work style, industry, hybrid attendance ratio, and specific acoustic needs for your floor.
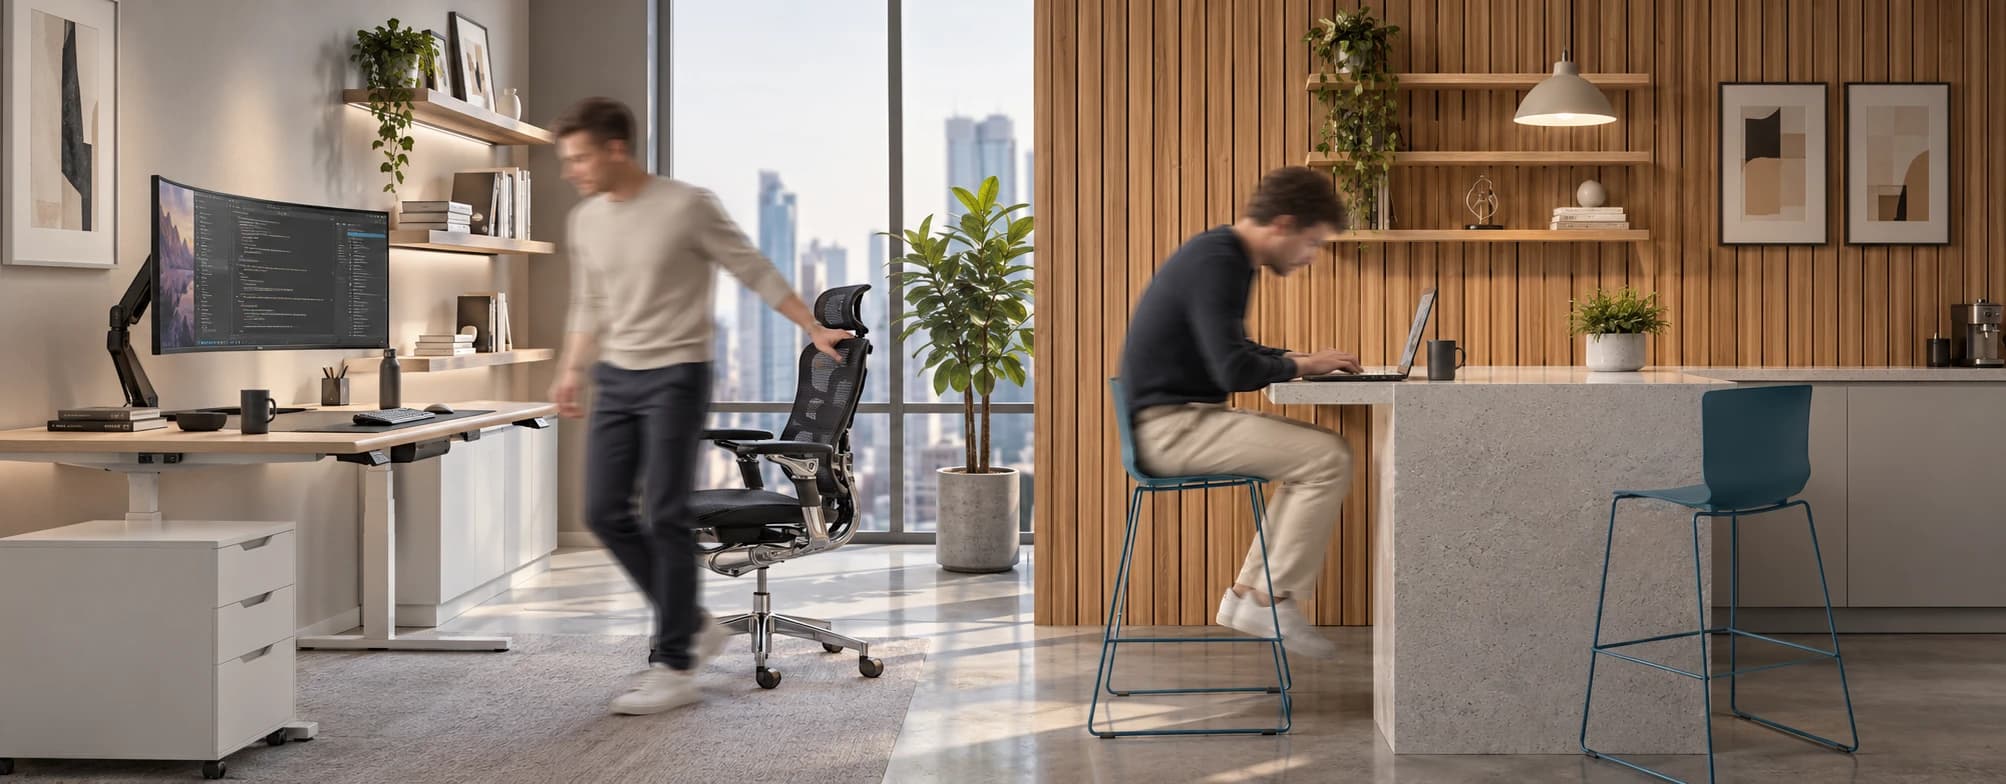
Sitting isn’t the Enemy, How You Sit Is: How to Align Your Desk for Zero Back Strain
If your job keeps you at a desk for most of the day, you are not alone—and you are not stuck. Software developers and data entry keyers spend 100% of a typical workday seated, while financial managers sit for 94%. Sitting is a standard part of modern work, so the real goal is learning how to reduce its physical impact while staying productive.
What the Research Shows
*Sedentary Volume: Adults in high-income countries spend 11–12 hours daily sitting over 75% of their waking hours (British Journal of Sports Medicine).
*Cardiovascular Risks: Sitting 6–8 hours daily increases cardiovascular event risk by 125% to 150% (Mayo Clinic).
*The 22-Minute Counter: 22 minutes of daily moderate-to-vigorous activity (brisk walking, cycling, active housework) offsets the mortality risk of prolonged sitting (BJSM).
*Micro-Break Impact: 5-minute movement breaks every hour significantly reduce fatigue and improve mood without hurting work performance (2026 BJSM Study).
*Gym Fallacy: A 60-minute workout in the morning does not fully reverse 9 hours of continuous sitting; daily movement breaks are still required.
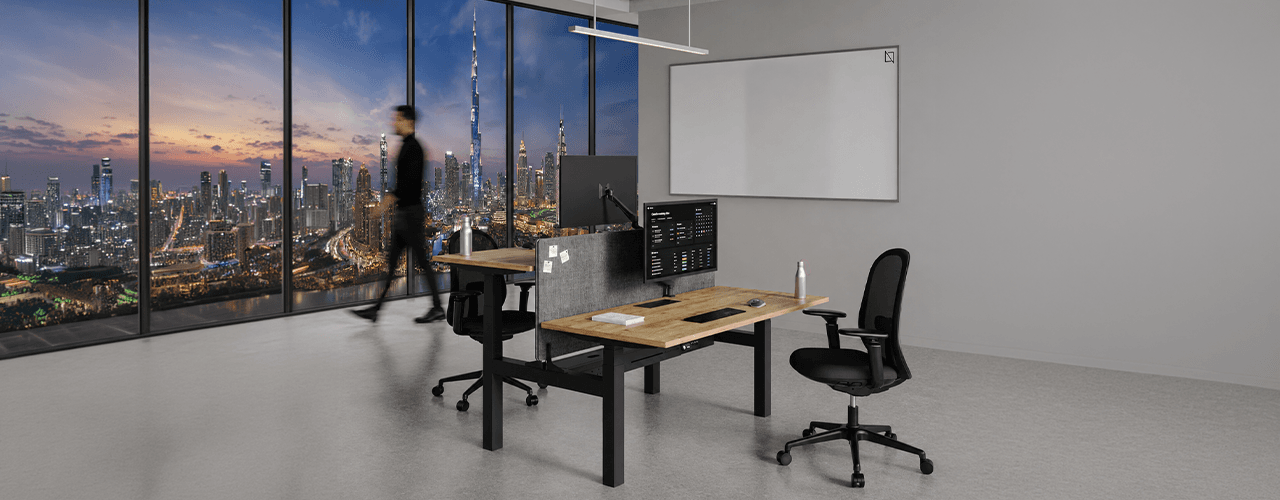
The Ultimate Office Furniture Setup Checklist for Modern Teams
Most offices aren't badly furnished. They're incompletely furnished. A great chair paired with the wrong desk height. A standing desk with no monitor arm. A collaborative floor with no acoustic separation.
The gap is rarely one big thing. It's several small things missing from the same setup at the same time.
This checklist covers every furniture category a modern UAE office needs — what to look for, what to avoid, and what the research says about each. Use it for a new fit-out, an upgrade review, or a department-by-department audit.
Key Findings
*The chair is the top furniture investment for knowledge workers. It has the most contact hours and directly impacts posture, energy, and afternoon performance.
*Fixed desks at 75cm fit about 30–40% of UAE office teams well. Height adjustability isn’t a luxury; it meets everyone’s needs.
*Open-plan offices without acoustic zones can lose employees up to 86 minutes of productive time each day. This is based on workplace productivity research.
*EU-OSHA highlights musculoskeletal disorders as the top workplace health concern worldwide. Poor seating and desk height are key factors.
*CBRE's 2026 Global Workplace Insights reveals that 69% of organizations have over 40% of staff sharing desks. This shift means adjustability is now a standard requirement, not just an upgrade.
*Quality ergonomic chairs last 8–12 years. A BIFMA-certified chair costs less per year when spread over 10 years. This cost is lower than one physiotherapy session for occupational back pain in Dubai.
You x Navo
Feel free to reach out to us for any queries & concerns